How to Fix Scratched Car Paint

CARS.COM — I likely fall into the same camp as most motorists regarding car paint: I don’t really think about it most of the time. When it gets too dirty, I wash it; sometimes I wax it. However, after living in Los Angeles and parking on the street regularly, the scratches and dings on my 1997 Honda Civic HX coupe have piled up. Getting it repainted or replacing body panels can get expensive fast, so I tried to figure out what I could fix on my own.
Related: How to: Get Rid of Tree Sap on Your Car
Not knowing where to start, I headed down the road to Meguiar’s, a California-based car-care product company, and got some advice.
Your Paint Is Like an Onion; It Has Layers
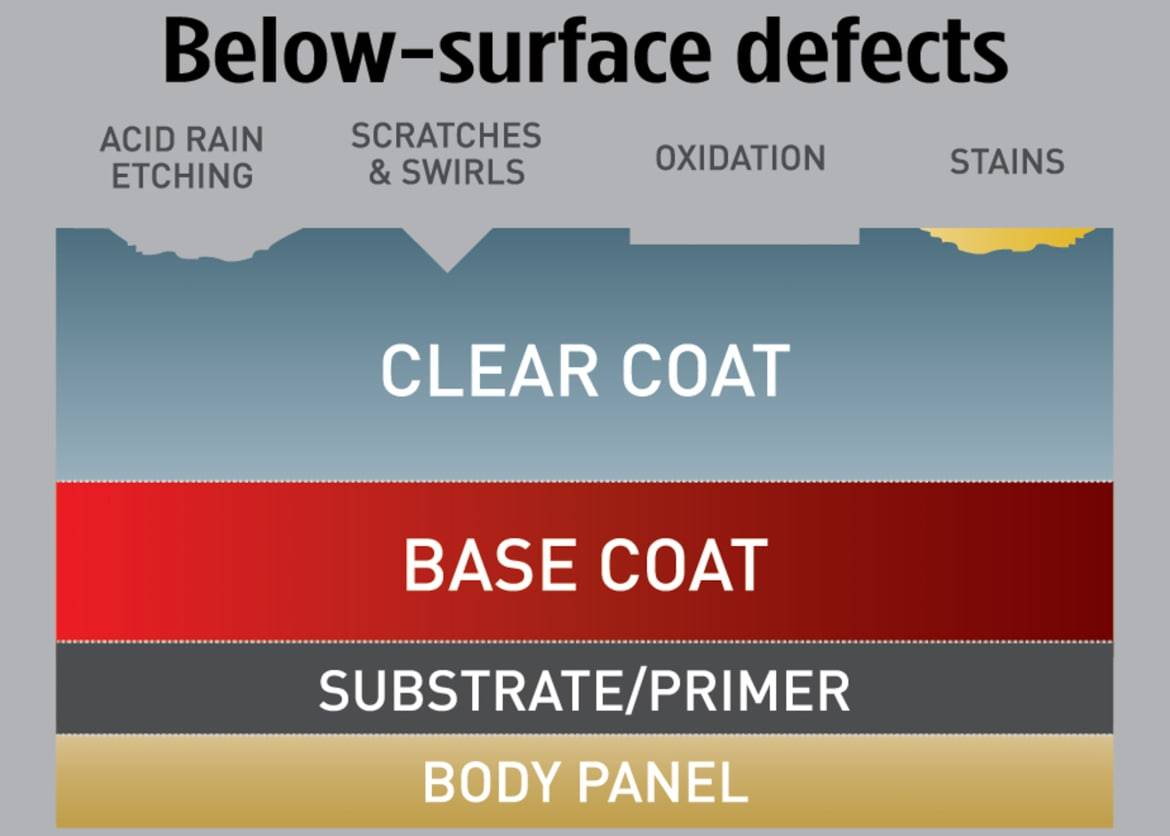
What looks like a single layer of paint on a modern car (since the early 1980s or so) is actually three layers: A primer sits directly on the body panel. Next is the base coat that gives the car its color. The final layer is a clear coat, a transparent coat of paint that acts as a protectant. If the clear coat gets damaged, it will protect the layers of paint below and make the damage less noticeable.
Damage Up Close
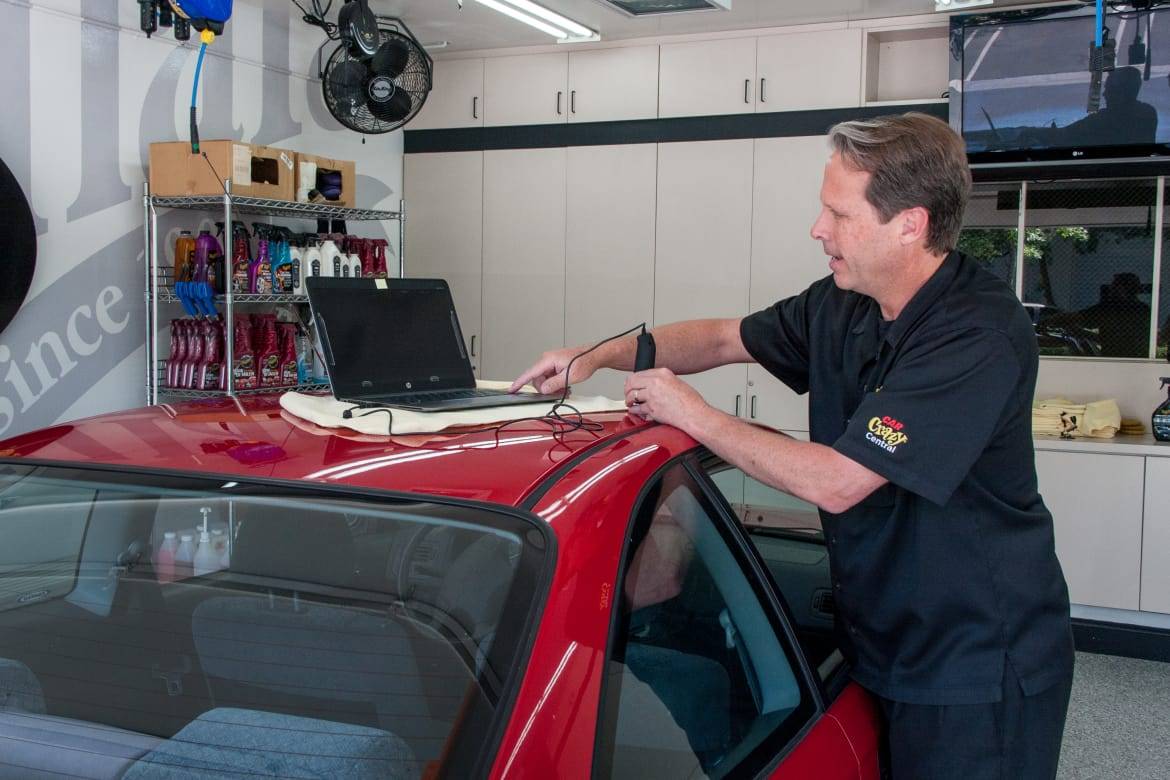
At the Meguiar’s facility, employees used a camera to show the paint in great detail, giving me a close-up look at the damage. What I saw was unsettling: What appeared to be small scratches on the surface looked like the Grand Canyon. Even parts of the car that I thought were in good shape had lots of small scratches that stripped the paint of its original shine.
How does this damage happen? Mike Pennington, Meguiar’s director of training and consumer relations, listed many culprits: “Things like automatic car washes [guilty], not washing your car often enough [guilty], using regular towels or dirty sponges for washing [guilty], and putting things on your car that can scratch it … this one looks like it’s from a cardboard box [guilty].”
What Can Be Fixed?
Paint issues can be divided into two camps: above-surface and below-surface defects. Above-surface defects like dirt and grime or other types of buildup usually can be removed via washing and a clay kit that helps smooth the surface.
I was primarily concerned about below-surface defects, including scratches, swirls, oxidation and stains that can seep in below the paint surface. Thankfully, my car was mostly free of that type of damage, but it had scratches and swirls aplenty. Unfortunately, those are the hardest to work on yourself because of how deep they can get, according to Meguiar’s.
Pennington’s rule of thumb is that if you gently run your nail over a scratch and it gets caught in the indentation, the scratch won’t come out completely with store-bought restoration products. Deeper scratches, especially those that penetrate the clear coat down to the other layers, will require more robust measures such as a do-it-yourself paint repair kit or a trip to the body shop to get the whole panel repainted or replaced.
The product Meguiar’s recommended in this case is Ultimate Compound (other companies such as 3M and Turtle Wax make similar products). What it does is take off small layers of clear coat to smooth out damage and remove stains. Some scratches will be too deep for the compound to remove, but even if they can’t be removed completely, shirking the surface level of the scratch will make it less noticeable.
It’s important to note that if you’re working on a car made in the last 30-odd years, it will have a clear coat, so make sure that the compound you use is safe or it will be too abrasive and make the problem worse.
DIY Work
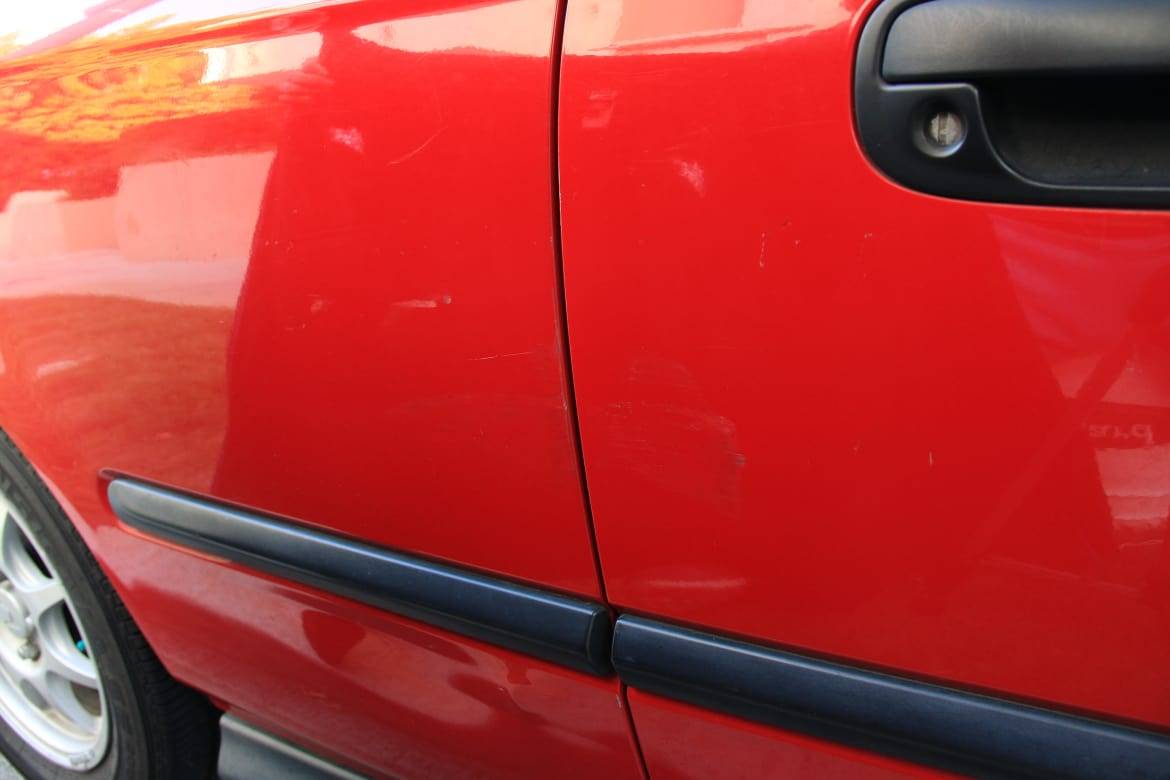
I chose to work on some damage on my car’s passenger-side door. A bump from another car left paint transfer and a small scratch that a wash and wax hadn’t fixed.
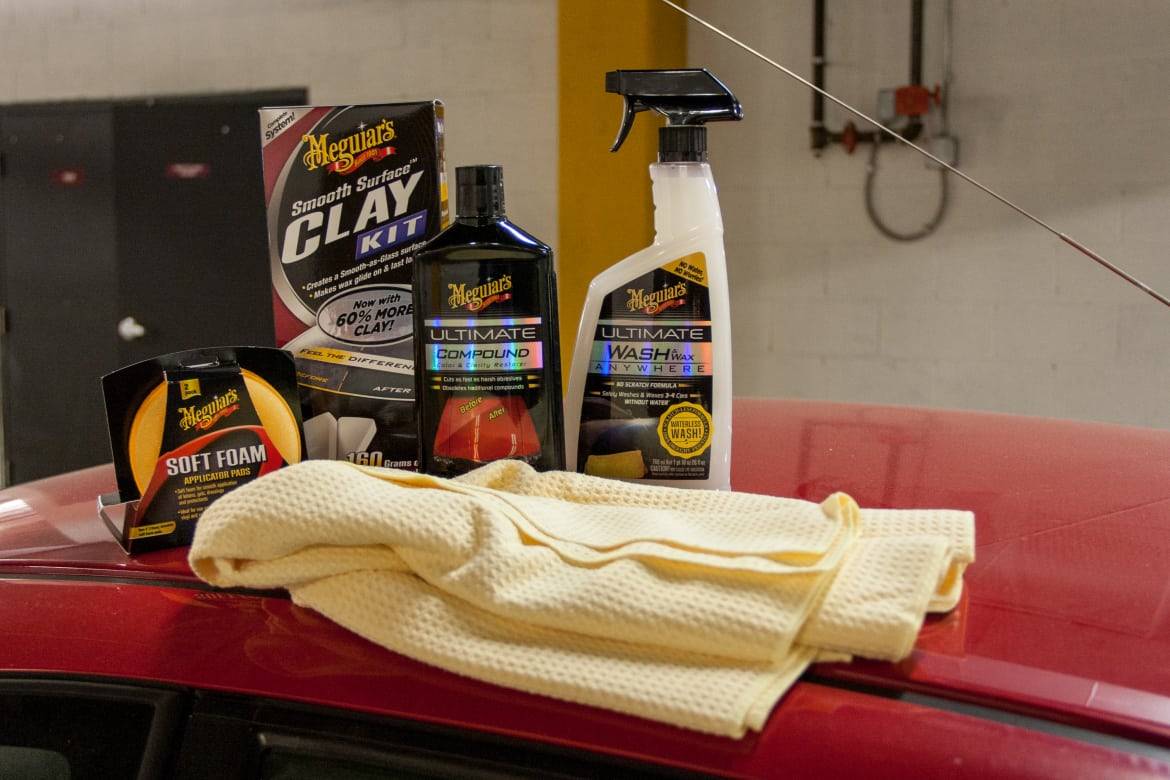
I bought several Meguiar’s products totaling $41.54:
- Ultimate Wash & Wax Anywhere Spray ($10.97)
- Smooth Surface Clay Kit, including detailing liquid ($16.97)
- Ultimate Compound ($8.61)
- Soft Foam Applicator Pads ($4.99)
Note: Prices shown were current in May 2016.
To apply and remove the products, I used microfiber towels; using a regular towel can scratch the paint.
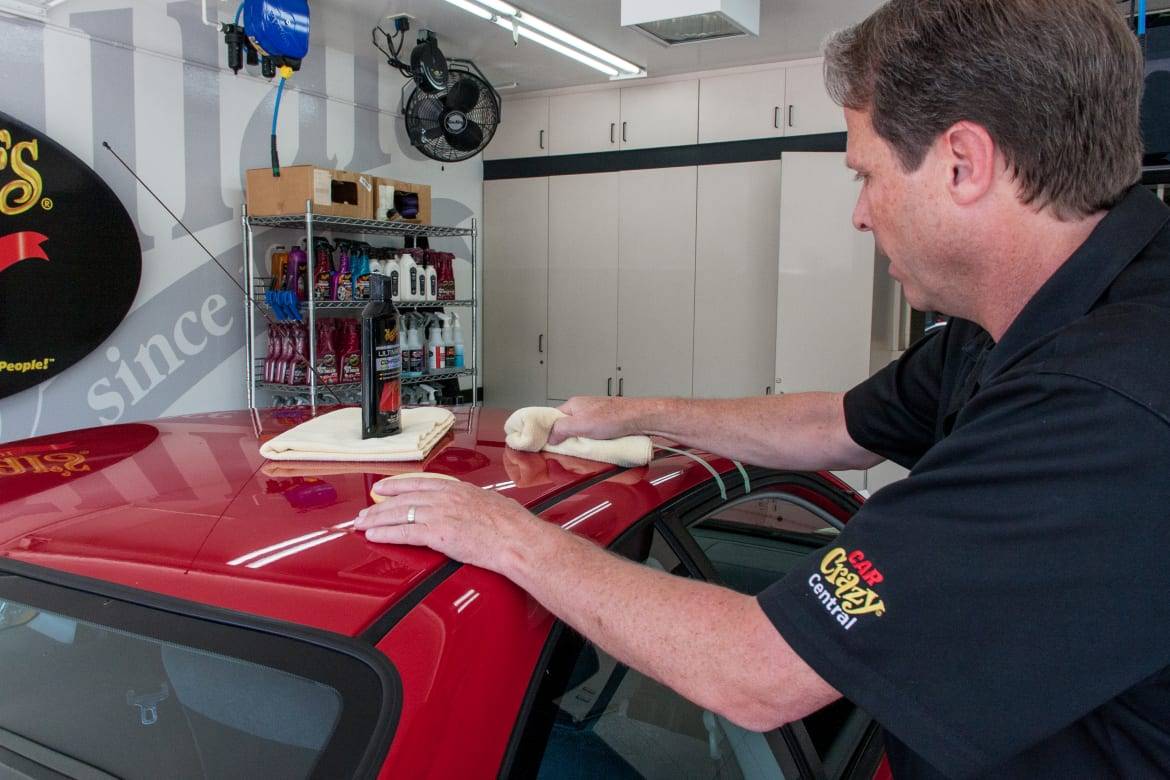
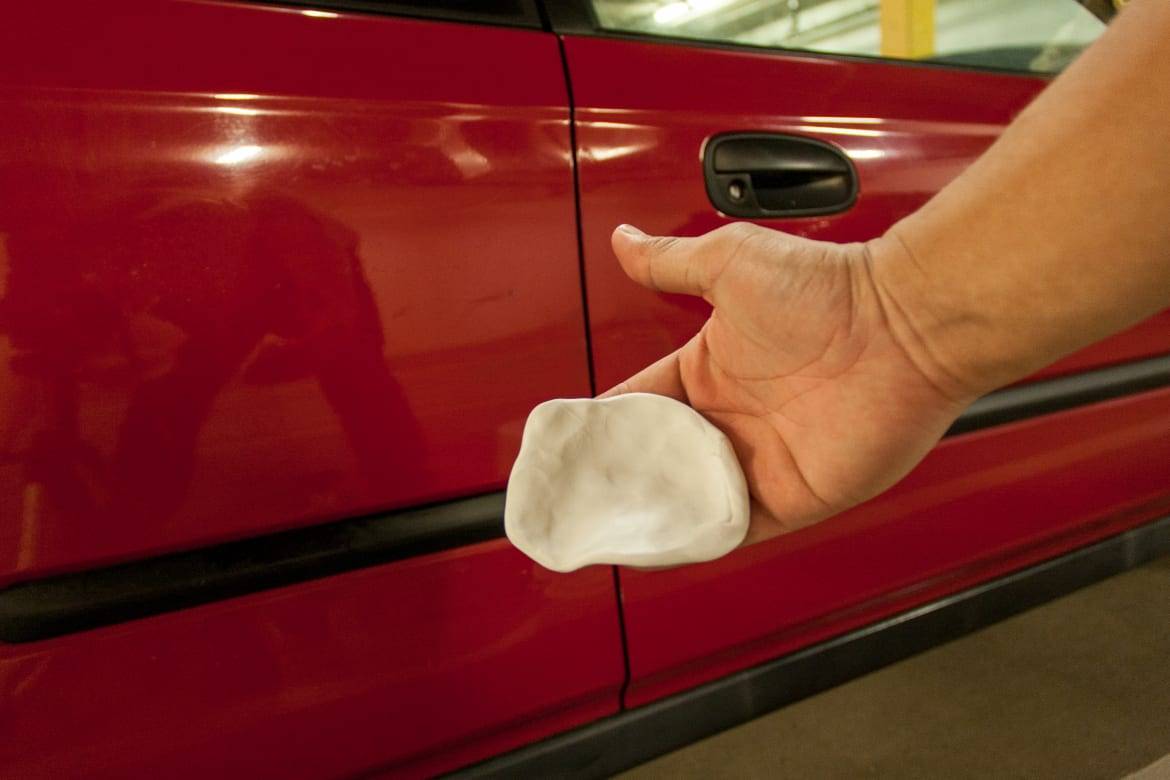
I used the first two products to get the car’s paint ready to be repaired. Since I live in an apartment and don’t have a hose or driveway, the spray allows me to wash a section of the car without using a bucket and sponges — just a towel. The clay kit (which includes the detailing spray needed as lubricant) removed a lot of the surface dirt and buildup. Click here to see how to use a clay kit on your car. After a quick wash and clay session, the passenger-side door was ready to work on.
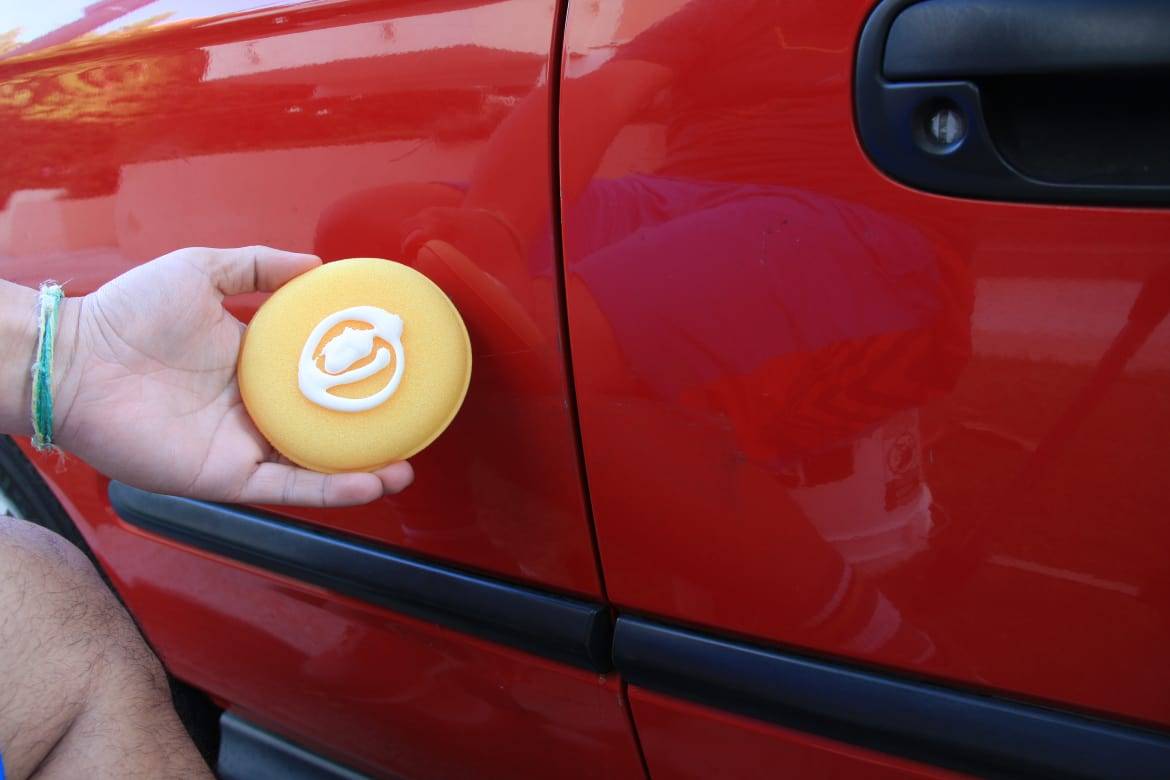
Using the Ultimate Compound is simple. Squirt a quarter-sized amount (or less if you’re working on a smaller area) onto the applicator pad and apply it with even, gentle pressure. Give it a nice rub. Work the compound into the paint until it turns almost clear, then wipe off the excess with a clean towel. Work on one small section at a time so you can focus on applying the product evenly.
Did It Work?
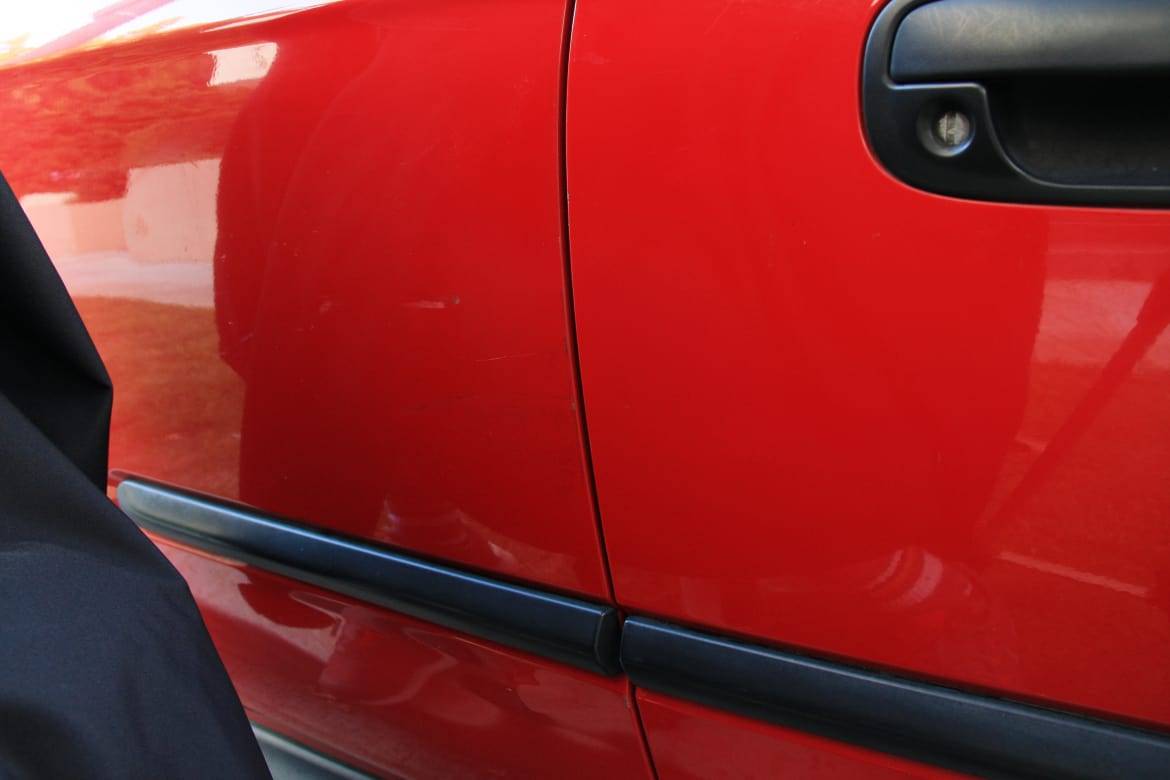
After the first round of Ultimate Compound, the passenger door damage looked like this:
After three more rounds, this was the final result:
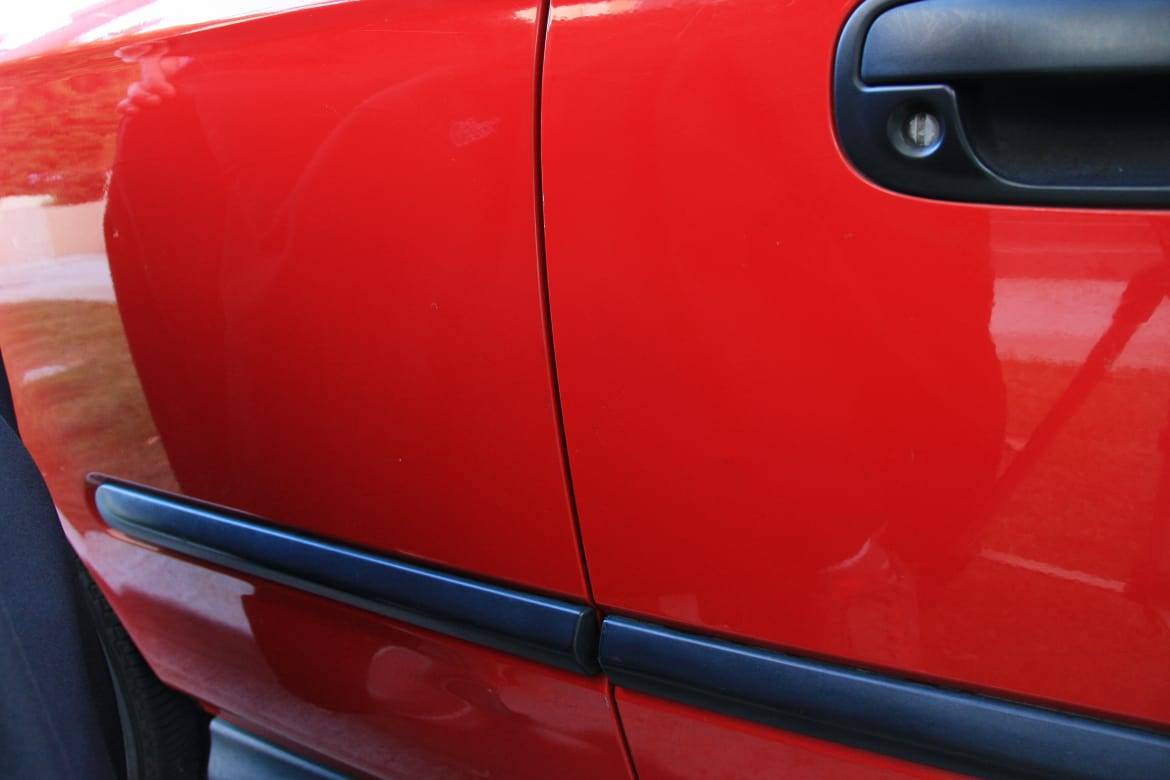
All of the paint transfer and smaller scratches were gone after about 20 minutes of work, including the washing/clay process. The larger scratch is still visible, but only up close. That section of paint was also brighter and clearer than the surrounding area.
After I finished the door damage, I did three other areas and the whole passenger side — apparently, fixing your car’s paint is addictive.
Don’t expect this process to completely remove deep scratches, especially those that come from what I would call “contact incidents.” But it does make them less noticeable and, as a side effect, restores the rest of the paint. Now if you’ll excuse me, my baby needs a little bit more elbow grease.
Cars.com’s Editorial department is your source for automotive news and reviews. In line with Cars.com’s long-standing ethics policy, editors and reviewers don’t accept gifts or free trips from automakers. The Editorial department is independent of Cars.com’s advertising, sales and sponsored content departments.

Former L.A. Bureau Chief Brian Wong is a California native with a soft spot for convertibles and free parking.
Featured stories
